How to resize, extend C drive in VMware
VMware is the most popular Virtual Machine software for now. It is easy to use and works like a physical computer. The same with physical computer, VMware virtual machine has disk space issue, too. For example, after a period of time, you may find the system C drive running out space, so you have to resize/extend C drive for VMware Workstation or Server. To most of the people, it seems a bit difficult, so in this article, I’ll show to resize volume and extend C drive in VMware.
Common VMware disk partition space issue
- System C drive runs out of space on the virtual disk and you need to expand it.
- The VMware virtual disk is too small when you create it, now you need to extend the entire virtual disk.
No matter you use VMware workstation or VMware Server, to solve the problems above, you just need one tool – NIUBI Partition Editor. It is extremely easy to use, just drag and move on the disk map to resize and extend partitions. Within a short time, you’ll have a “new” virtual Server without other operations.
How to extend C drive on VMware Workstation or Server?
Step 1. Download NIUBI Partition Editor and you’ll see all connected disks.
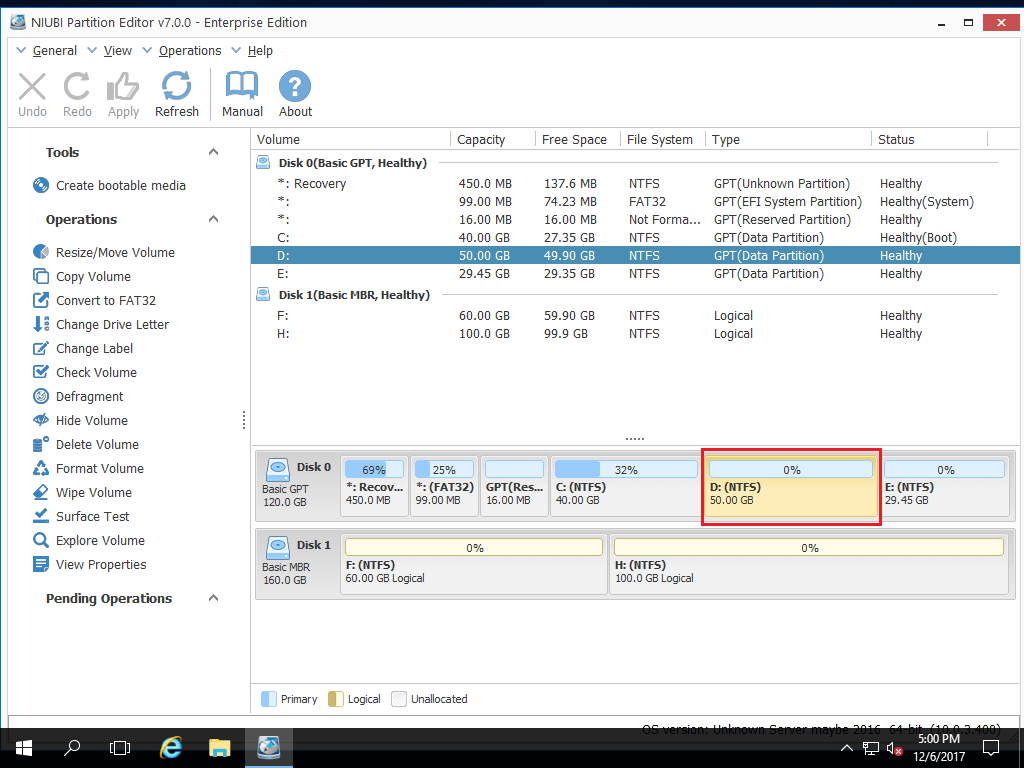
Right click volume D and select “Resize/Move Volume“.
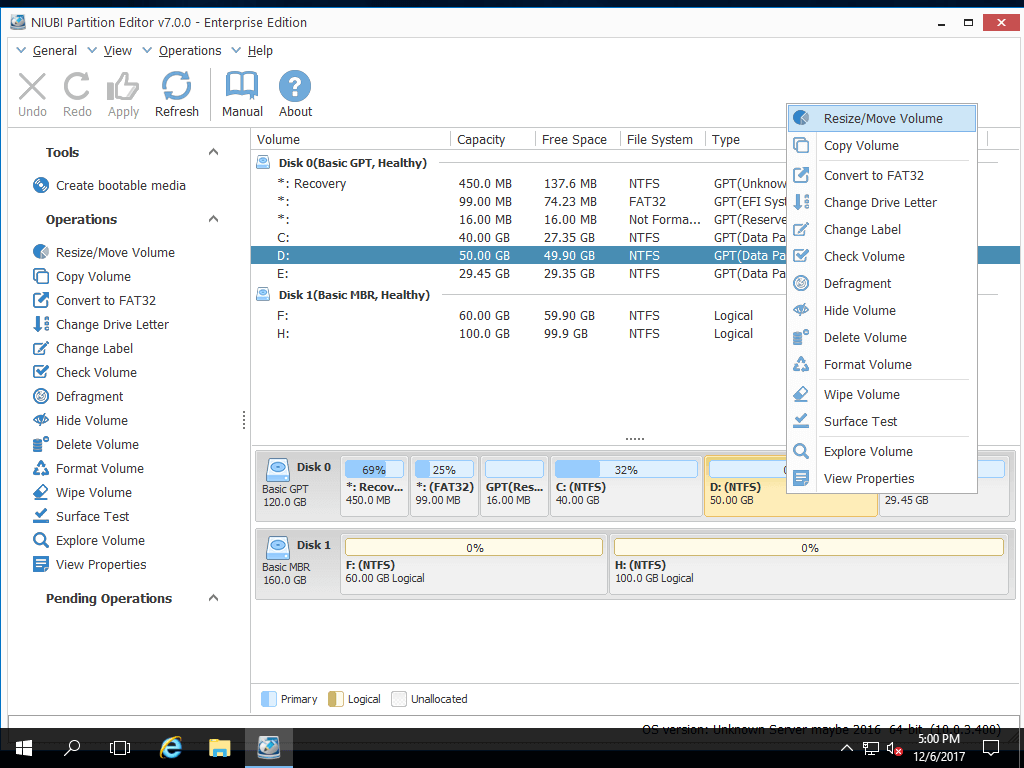
Step 2: In the pop-up window, drag left border rightwards to shrink D.


Click OK and back to the main window, 20GB Unallocated space created behind C: drive.

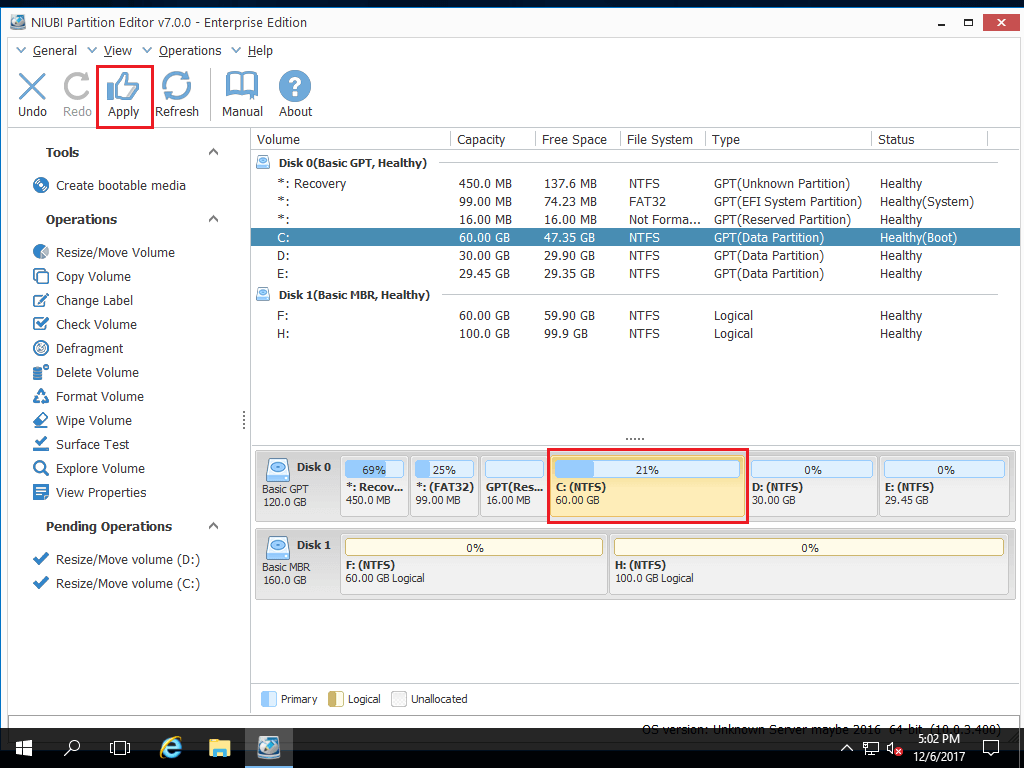
Step 3: Right click C drive and select “Resize/Move Volume” again. In the pop-up window, drag the right border rightwards to hold the Unallocated space.

Step 4: Click OK and back to the main window, C drive extended to 60GB by adding the Unallocated space. Click Apply on top left to execute, done.
If there is single C drive, or not enough free space in all other volumes of the same disk, you can expand the VMware disk.
How to extend entire disk of VMware?
Step1: Open up Run dialogue from the start menu (Start -> Run) or hold down the Windows key and press R. Type “cmd” and hit enter to open up the Command Prompt.
Step2: Run VMware disk manager tool, the format is like this: “AA\vmware-vdiskmanager.exe” –x BB.GB(MB) “CC\DD.VMDK”.
AA: The absolute path of vmware-vdiskmanager.exe (for example C:\Program files\Vmware Workstation or C:\Program files\Vmware Server)
BB: What size you want to extend the VMware virtual disk to
CC: The absolute path of the virtual disk you want to extend
DD: The name of the virtual disk want to extend
Input the command and press enter to proceed, after that, the virtual disk will be extended and there will be “BB.GB(MB) Unallocated space at the end of the virtual disk.

After extending the virtual disk, the new disk space will be added to the end of original virtual disk and displayed as Unallocated, which can be used to extend the system C drive. To do this, you need to move the Unallocated space to behind C drive.
How to move Unallocated space?
For example, originally there are volume C and D, after extending the VMware disk, some Unallocated space is added to the end.
Right click volume D and select Resize/Move Volume, in the pop-up window, drag the middle position rightwards.

Volume D will be moved to the end and the Unallocated space will be moved to behind C drive at the same time.