How to shrink volume in Windows Server 2012 R2
Windows Server 2012 inherited the same “Shrink Volume” function from previous Server 2008. If you forgot to create more partitions when installing Windows Server 2012, you can shrink a large partition to get unallocated space without losing data. However, not all drives can be shrunk with this native tool. If you want to extend a partition by shrinking another one, Disk Management cannot help you. In this article, I’ll introduce how to shrink volume in Windows Server 2012 r2 with built-in Disk Management and better way to shrink Server 2012 partition with safe partition software.
How to shrink volume in Server 2012 r2 Disk Management:
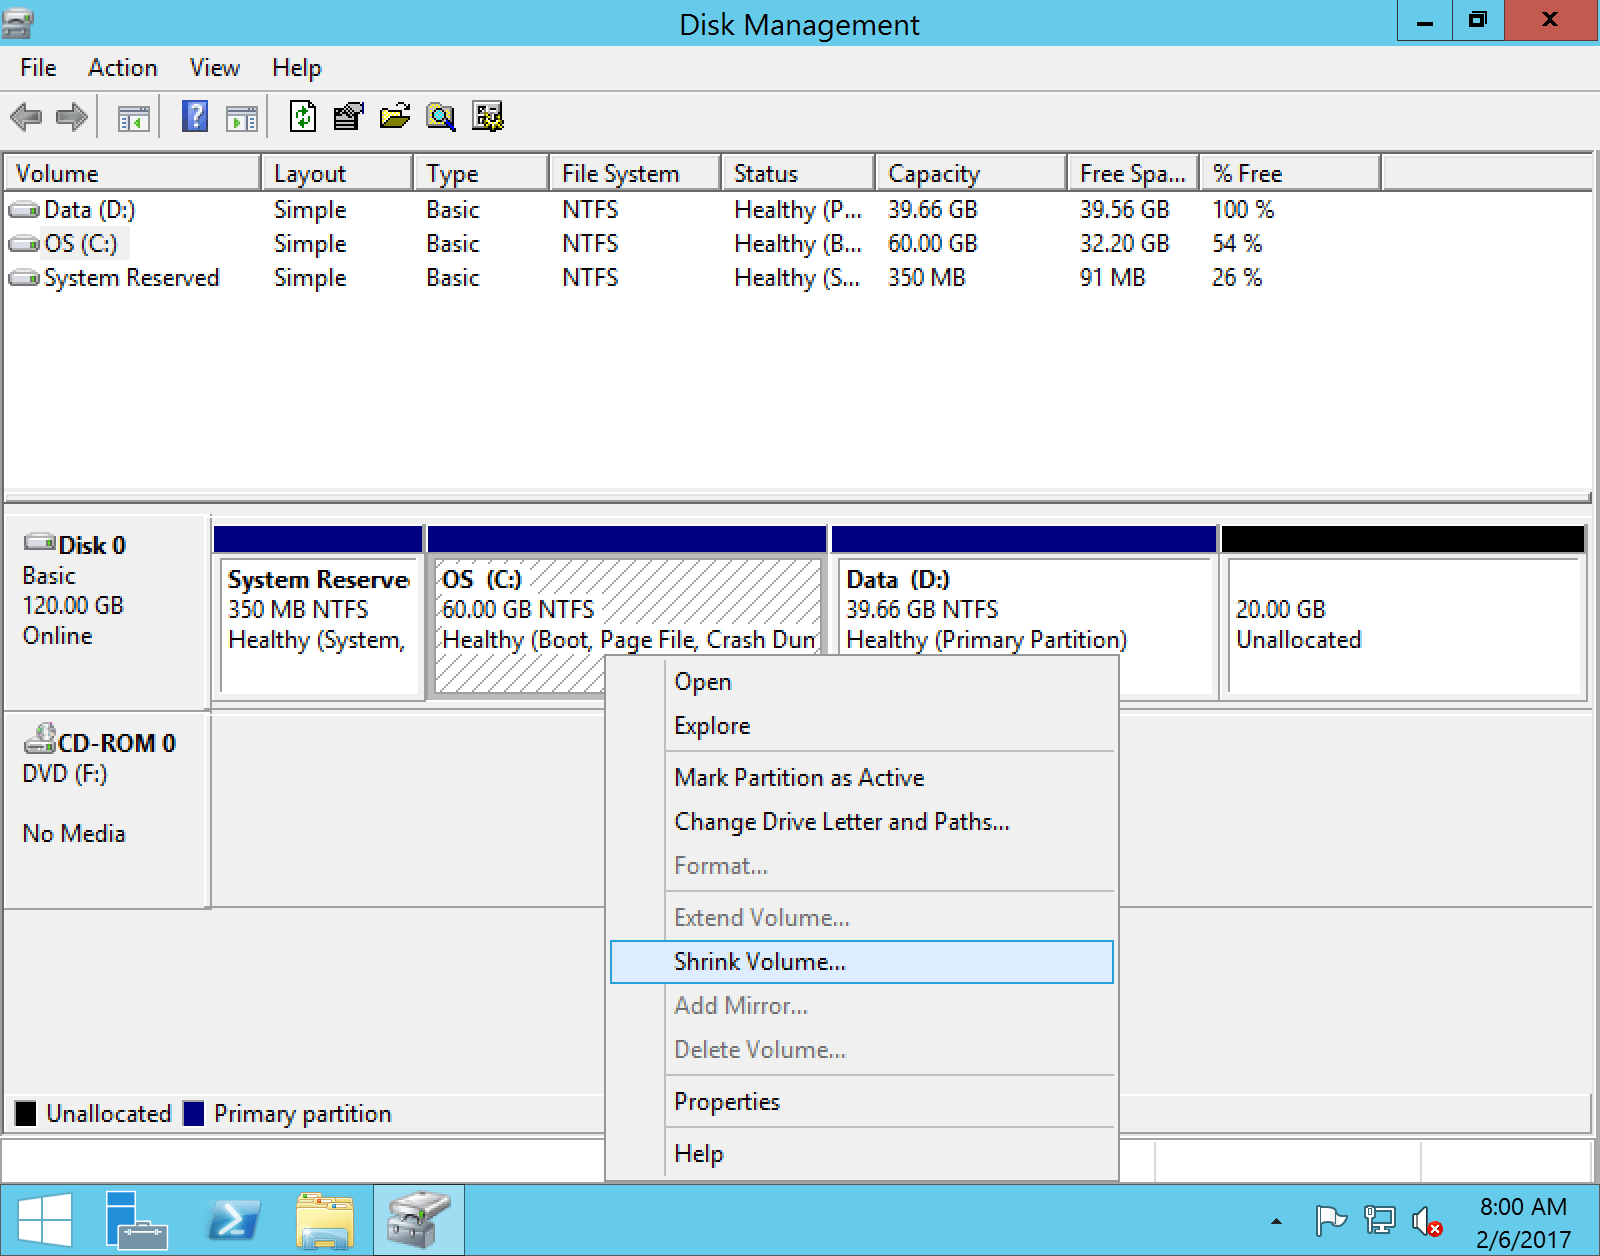
Step 1: Press Windows + X together on the keyboard and select Disk Management in the list.
Step 2: Right click the NTFS drive that you want to decrease and select “Shrink Volume“.
Step 3: The default amount is all available size, you’d better enter a smaller amount and then click Shrink to continue. In general, this partition will be shrunk in a short time.
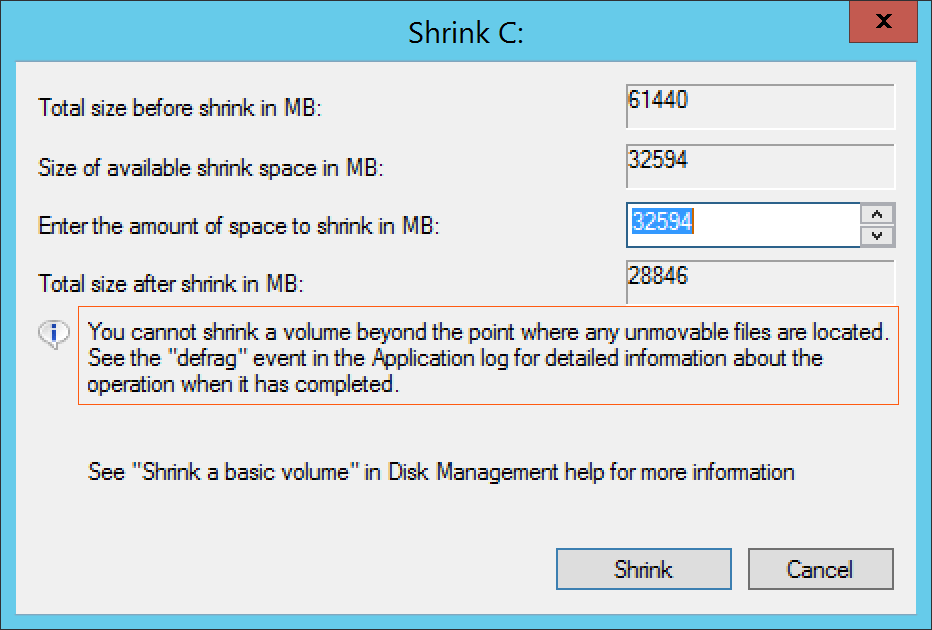
In some cases, you can only shrink little space, as the note says “You cannot shrink a volume beyond the point where unmovable files are located.”
Limitations of “Shrink Volume” in Windows Server 2012 r2
From Microsoft help document, when you shrinking a partition, certain files (for example, the paging file or the shadow copy storage area) cannot be automatically moved. Disk Management cannot shrink partition beyond the point where the unmovable files are located. If the shrink operation fails, check the Application Log for Event 259, which will identify the unmovable files.
- Only NTFS partition can be shrunk, FAT32 and any other types of partition are not supported.
- Assume the drive that you want to shrink is consist of 4 blocks – 1, 2, 3 and 4, the unmovable files are located in block 3. You cannot shrink volume to block 1 or 2, even if they are blank and writable.
- Disk Management can only shrink partition and make unallocated space on the right. It is not a problem if you just want to create new volume with unallocated space. But if you want to merge this unallocated space to other partition, Disk Management cannot help you.
Better than Disk Management, NIUBI Partition Editor has more options when shrinking partition in Windows Server 2012:
- It can shrink and extend NTFS and FAT32 partitions.
- It can move the “unmovable” files, so it is able to shrink a partition to minimum size.
- It can shrink a partition towards left or right and make unallocated space on either side.
- It can move and merge unallocated space to contiguous or any nonadjacent partition on the same disk.
How to shrink volume with NIUBI Partition Editor
To shrink volume in Windows Server 2012 r2 with NIUBI, you just need to drag and drop on the disk map. Follow the steps below.
1. Shrink a partition to create new volume
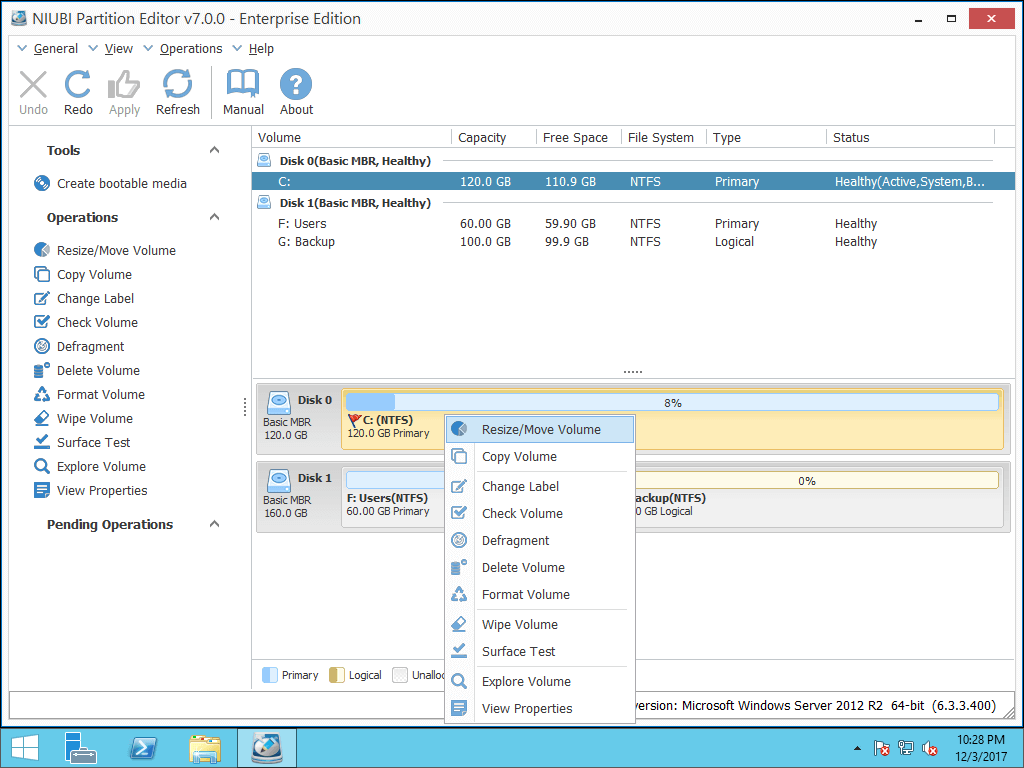
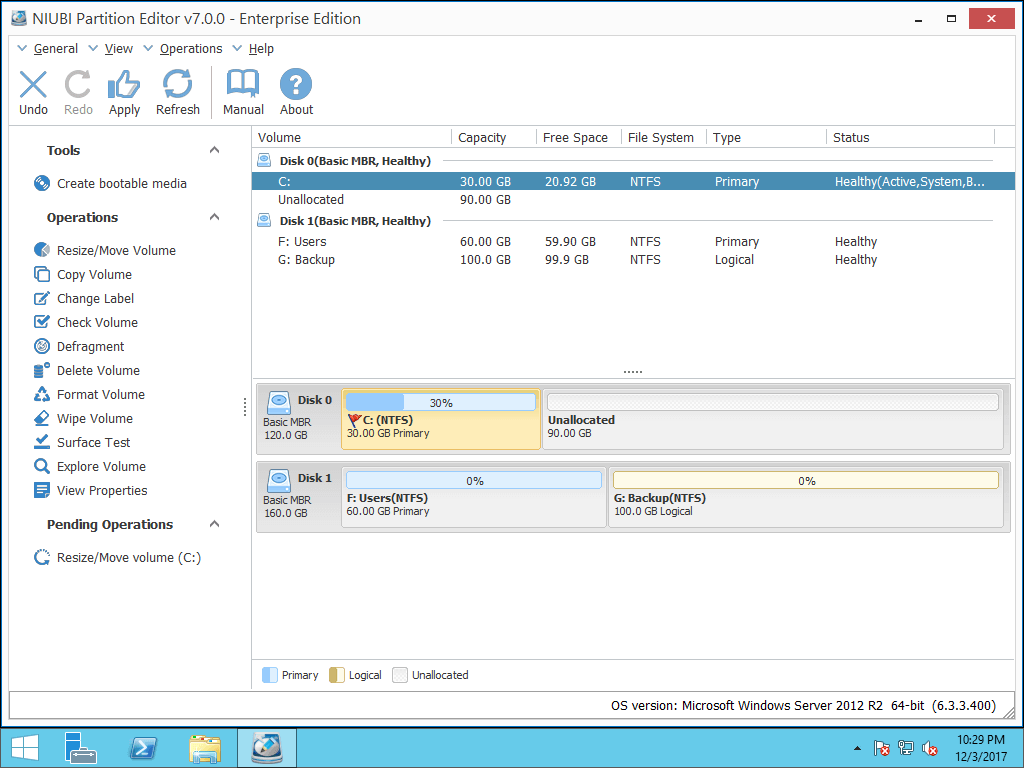
Step1: Download NIUBI Partition Editor, right click C: drive (or other partition) and select “Resize/Move Volume“.
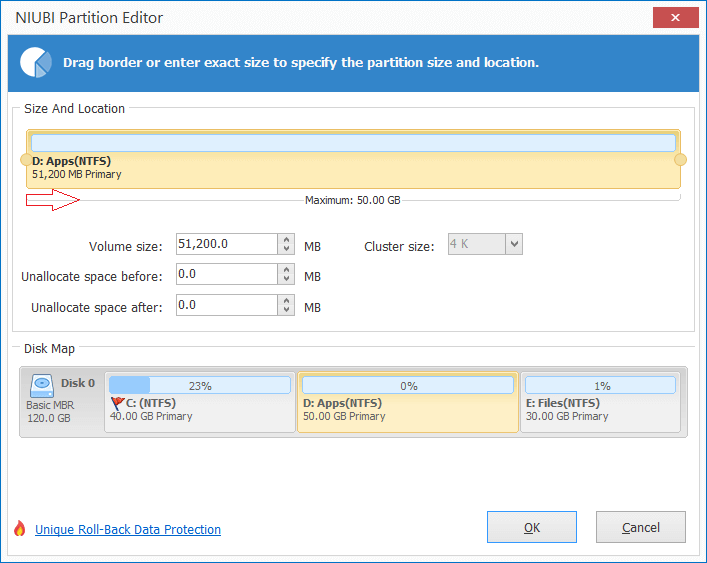
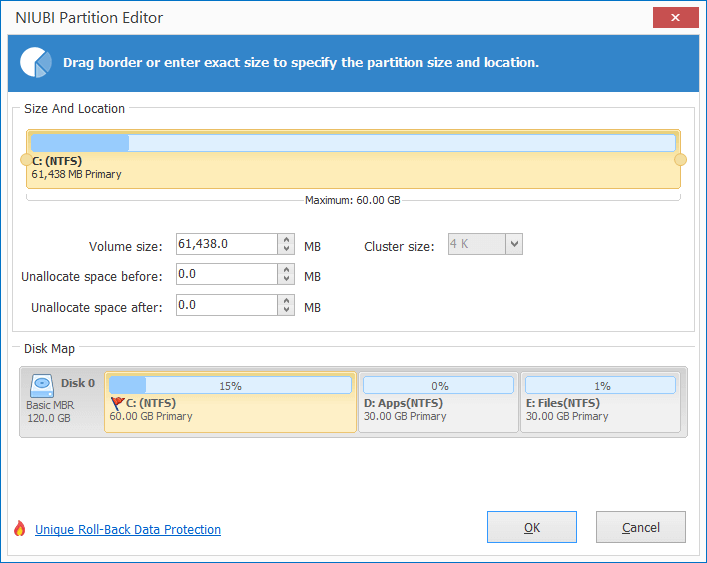
Step2: In the pop-up window, drag the right border leftwards.
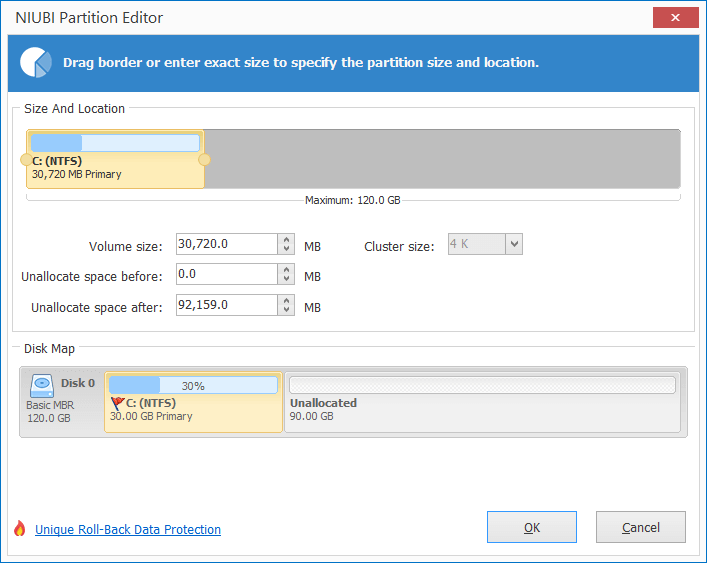
Unallocated space will be made on the right side of C: drive. If you drag left border towards right in previous step, unallocated space will be made on the left side.
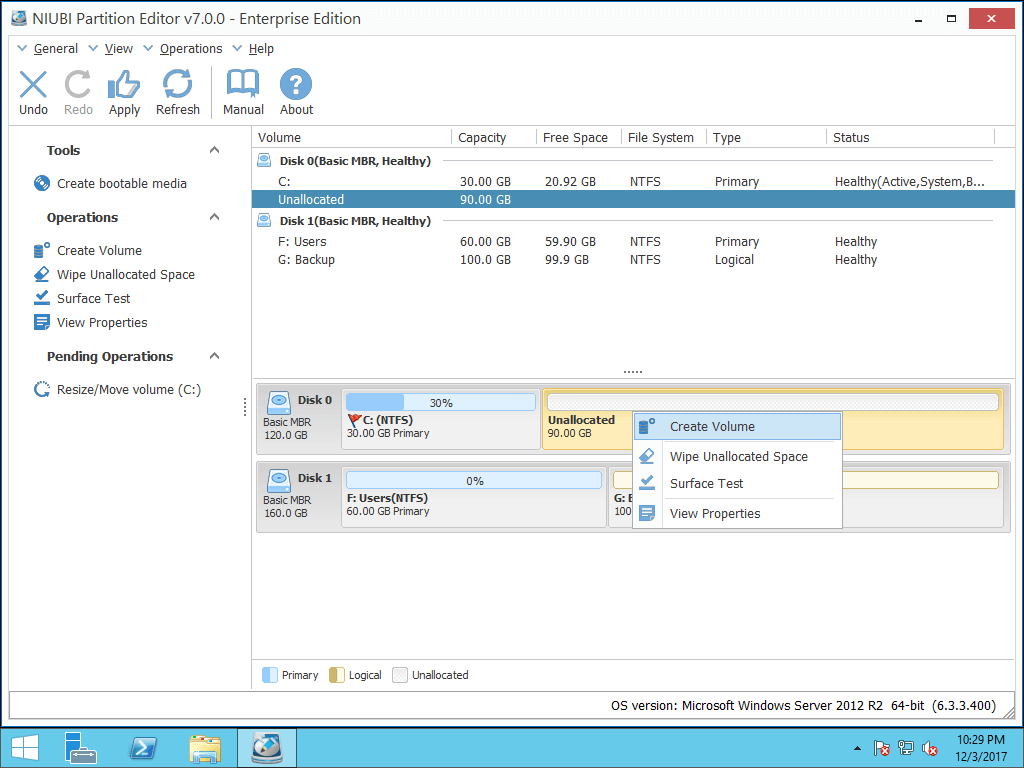
Step 3: Right click the Unallocated space and select “Create Volume“.
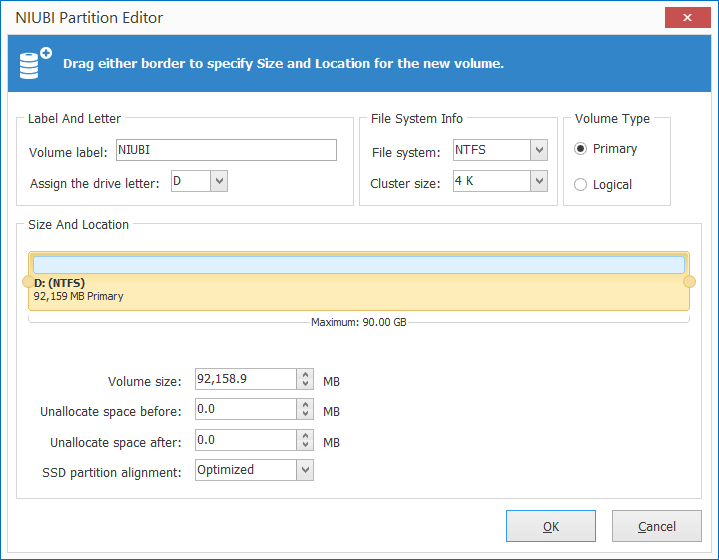
Step 4: In the pop-up window, click OK to create partition with default settings. Or change each setting by yourself, available operations including:
- Add label (name) to this new volume
- Select a drive letter
- Select File System and cluster size
- Select to create this drive as Logical or Primary
- Drag either border to change the partition size.
Step 5: Click OK and back to the main window, click Apply on top left to execute, done.
2. Shrink Server 2012 volume to extend other drive
Step 1: Right click D: drive and select “Resize/Move Volume“.
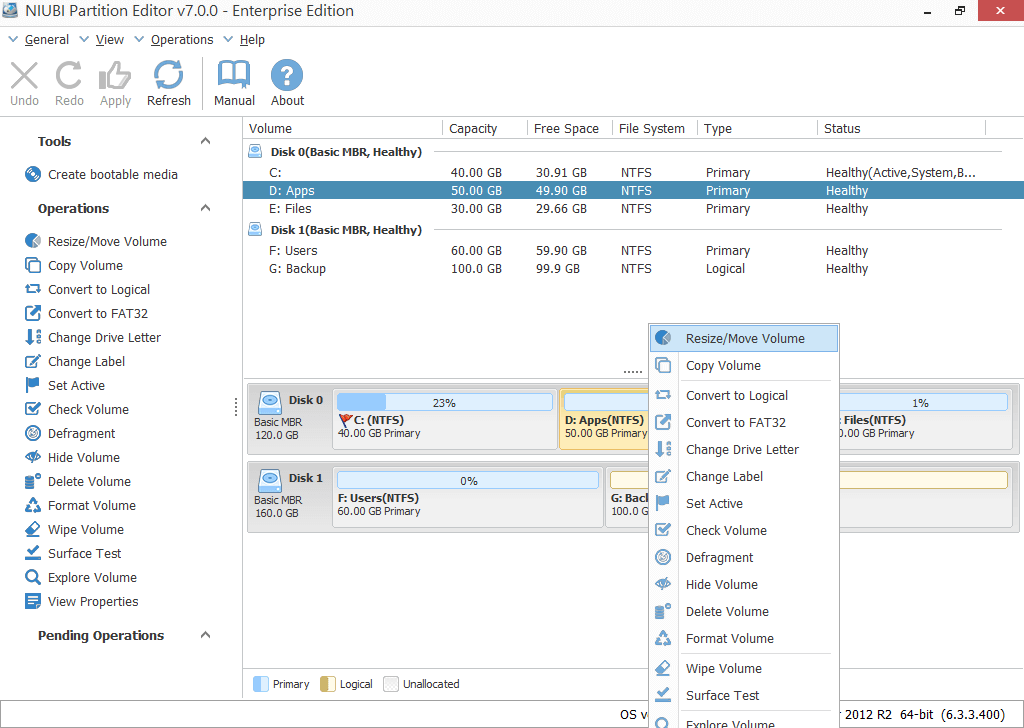
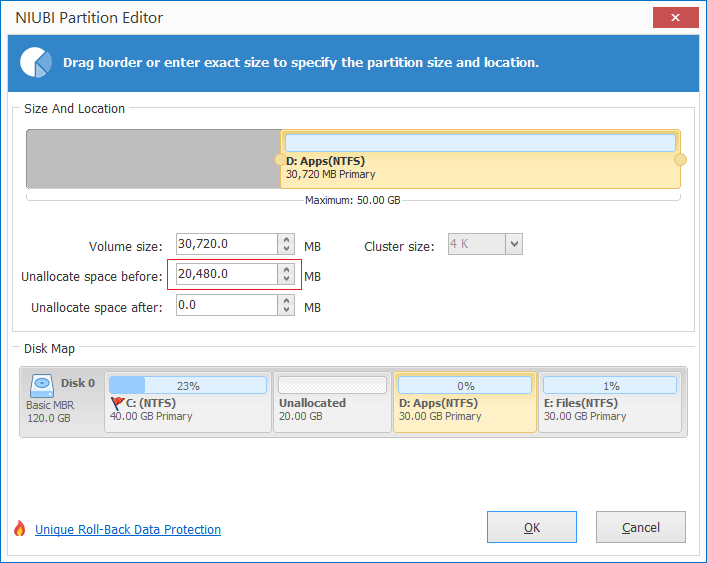
Step 2: In the pop-up window, drag the left border rightwards to shrink D and make unallocated space on the left.
If you want an accurate amount, enter a value in the box of “Unallocated space before”.
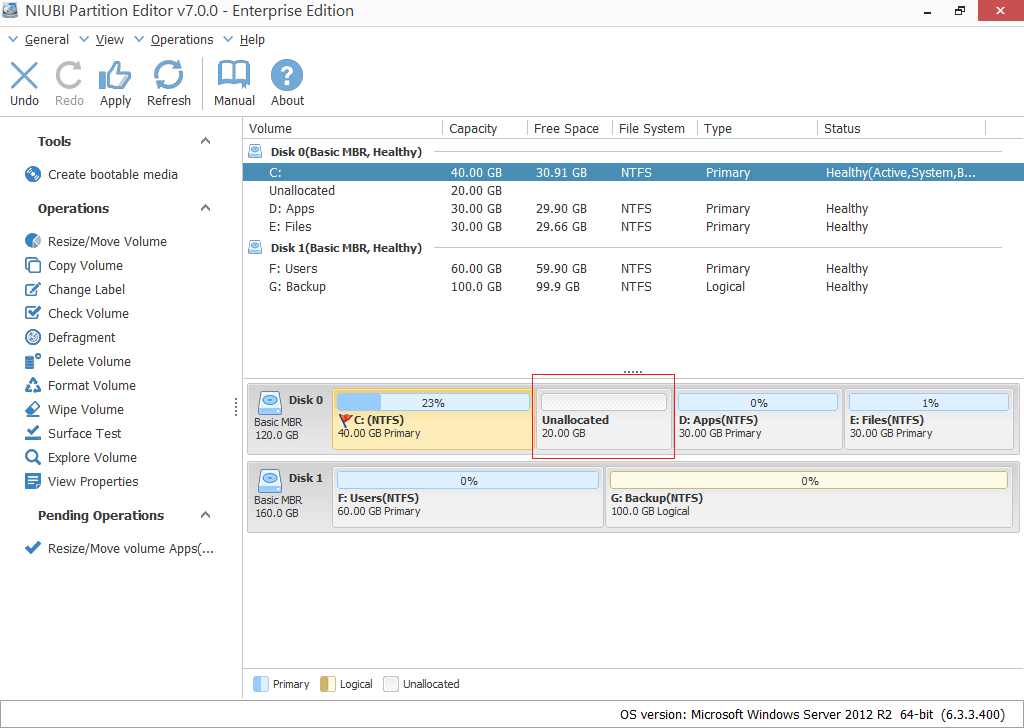
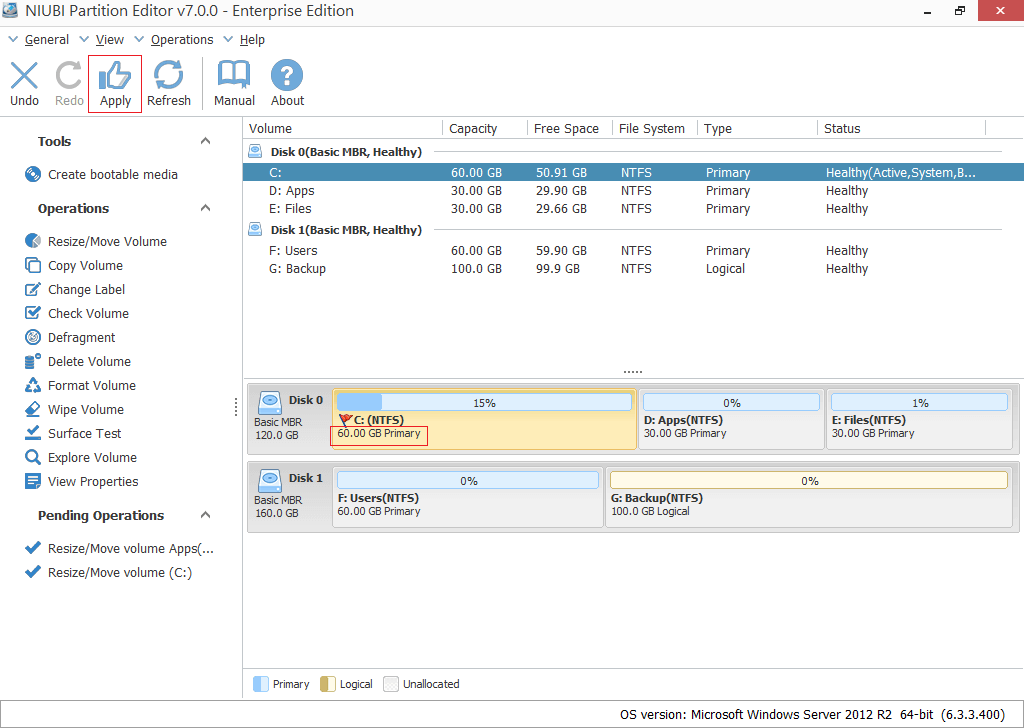
Click OK and back to the main window, a pending operation is added on bottom left.
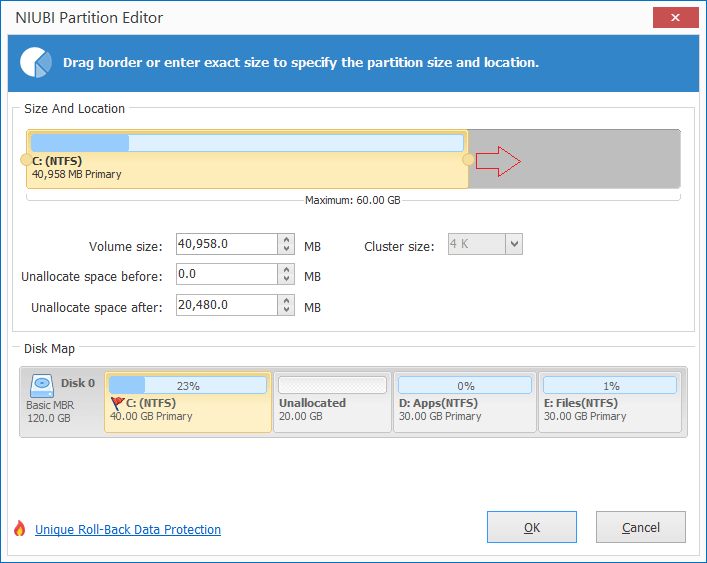
Step 3: Right click C drive and select “Resize/Move Volume”, drag the right border rightwards to merge this unallocated space.
Step 4: Click OK and back to the main window, click Apply on top left to take effect, done!
If you want to extend E drive, shrink D drive and make unallocated space on the right. If you want to shrink E to extend C drive, make unallocated space on the left when shrinking E drive. Before adding this unallocated space to C drive, you need to move partition D to the right with the same “Resize/Move Volume” function.
How to shrink and extend volume in Server 2012 R2
Besides shrinking and extending partition in Windows Server 2012/2016/2019/2022 and previous Server 2008/2003, NIUBI Partition Editor helps you do many other disk/partition management operations, such as merge, move, copy, convert, defrag, wipe, hide partition, scan bad sectors.